
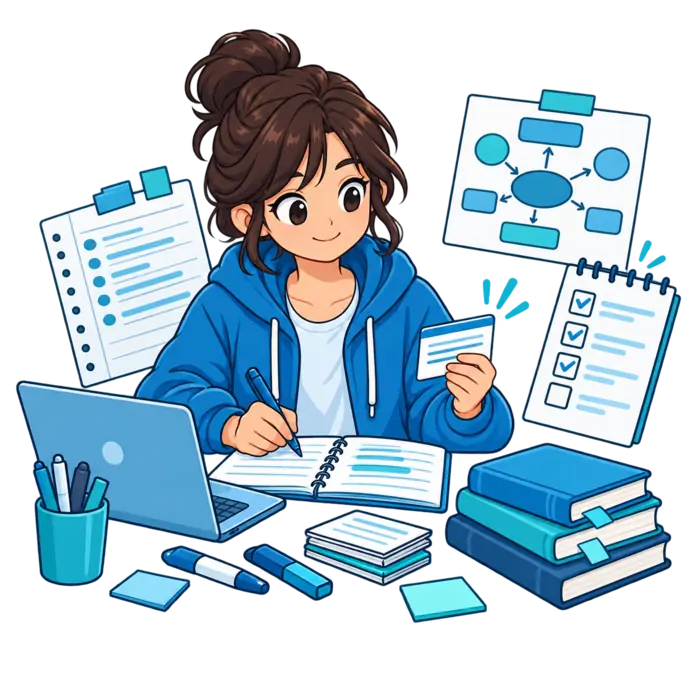
Creating your own study guide turns scattered class material into one clear learning plan. It also reveals what you understand and where the gaps still hide.

The best guide is not a prettier copy of your notes. It is a working tool that makes you recall, explain, compare, and practice.
How do I create my own guide?
Start with the exact learning goal. Gather trusted course sources, sort the main topics, and rewrite key ideas in your own words.
Next, turn important facts into questions. Add examples, diagrams, and practice tasks. Finish with a review schedule and an error list.
Did you know?
Making a guide can become part of studying. You must choose, connect, and explain information before you can organize it well.
Define the purpose before opening a document
A guide for a weekly quiz needs a narrow scope. A final exam guide needs broader coverage and more practice.
Write the course, assessment, date, format, and covered units at the top. This small header stops the guide from growing without limits.
Write one clear learning target
Use a target such as, “Explain cell division and solve related questions.” A useful target describes what you must do.
“Study biology” is too wide. It gives you no finish line. A clear target works like a map pin.
Match the real assessment format
Multiple-choice tests reward quick recognition and careful comparison. Essays require claims, evidence, and organized explanations.
Problem-based exams demand worked examples and fresh practice. Build the guide around the real task, not your favorite format.
Collect the trusted source materials
Begin with the syllabus, teacher objectives, class notes, assigned textbook, slides, and official review sheet. These sources define the tested scope.
Put everything in one folder. Name files by unit or date. A tidy source folder saves time when checking details later.
Separate source facts from extra explanations
Label course facts as required material. Label outside examples as extra help. Do not mix both without a clear marker.
Your teacher’s wording may matter for definitions or methods. Outside explanations can help understanding, but they should not replace course rules.

Make a topic map before writing summaries
List every covered unit. Place major concepts below each unit. Then add terms, formulas, examples, and likely question types.
This map prevents hidden gaps. It also shows which ideas connect across chapters. Those connections often matter on harder questions.

Rank topics by importance and difficulty
Mark each topic as high, medium, or low priority. Use teacher emphasis, learning objectives, past feedback, and assessment coverage.
Add a second mark for confidence. A high-priority weak topic deserves attention first. Easy facts can wait.
Build the core guide sections
Most personal guides need objectives, key ideas, vocabulary, examples, practice questions, mistakes, and a review checklist. Add only useful sections.
The structure should feel like shelves, not a junk drawer. Every item needs a clear place and purpose.
Rewrite ideas in your own words
Read one short source section. Close it. Explain the idea from memory using plain language. Then compare your version with the source.
This method exposes weak understanding. Copying can feel smooth while hiding confusion. Your own explanation must keep the original meaning.
Use a short summary rule
Give each concept a brief explanation, not a copied chapter. Include the definition, purpose, connection, and one clear example.
If a summary becomes long, split the concept. Dense blocks are hard to scan and even harder to test.
Keep details that change the answer
Do not remove dates, units, exceptions, steps, or conditions when they affect accuracy. Simple does not mean incomplete.
Ask, “Could missing this detail produce a wrong answer?” If yes, keep it visible.
Turn notes into active recall questions
Change every major heading into a question. Convert definitions into prompts. Hide answers until you make a real attempt.
Use “why,” “how,” and “compare” questions for deeper learning. Recognition alone may fail when the exam changes the wording.
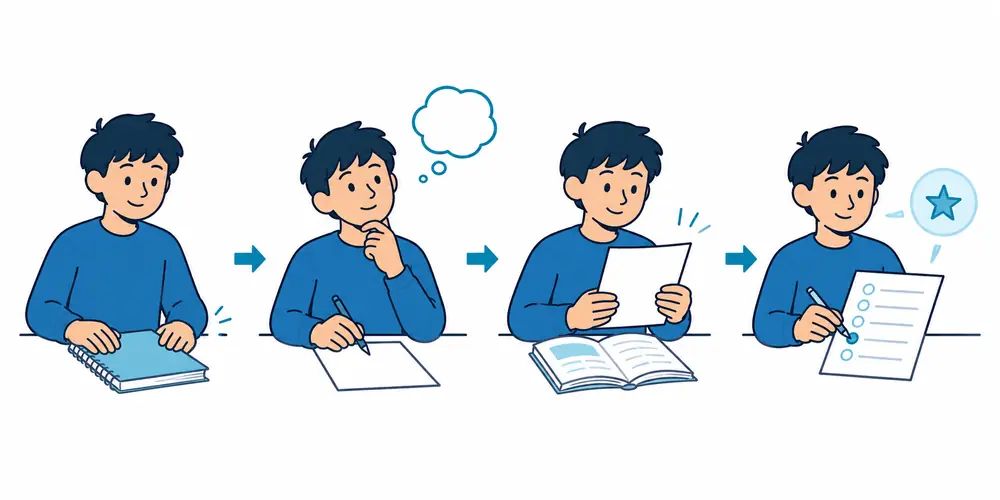
Add worked examples and fresh practice
Include one clean worked example for each problem type. Label every step and explain why that step works.
Then create a similar question with different values or conditions. Solve it without seeing the model. That second question tests transfer.
Use visuals only when they explain relationships
Timelines show order. Tables compare features. Concept maps show connections. Diagrams show parts, movement, or cause.
Decorative color can make a page busy without improving recall. Give each color one fixed meaning and use it consistently.

Create an error log inside the guide
Record the question, your wrong answer, the correct rule, and the reason for the mistake. Keep the wording short.
Group errors by type. Common groups include missing knowledge, rushed reading, weak method, and careless calculation.
Turn errors into new prompts
Every repeated mistake should become a question or mini-practice task. This makes the guide respond to your real needs.
A generic guide covers the course. A personal guide also covers your patterns. That difference makes it valuable.
Check accuracy against the original sources
Verify definitions, formulas, examples, dates, and exceptions. Use the teacher’s materials first when they define assessment expectations.
The step-by-step study guide process from Herzing University also stresses active learning over simple copying.
Test whether the guide works
Use the guide during one timed session. Note where you search too long, misunderstand a prompt, or lack enough practice.
Fix those points immediately. A useful guide should reduce friction. It should not make you hunt through another textbook.
Choose paper, digital, or a hybrid guide
Paper supports quick sketching and fewer screen distractions. Digital guides are easier to search, edit, link, and duplicate.
A hybrid works well for many students. Keep the master guide digitally, then print or handwrite active practice sheets.
Read next
Learn how AI can speed up your first study guide draft.
Schedule reviews before you finish
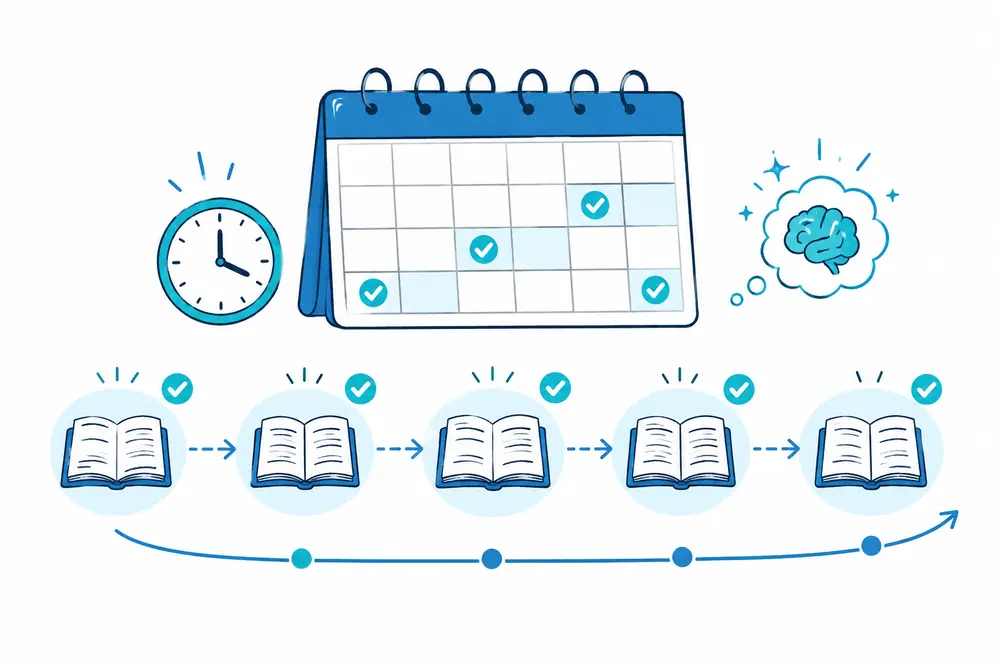
Add review dates to a calendar. Study harder topics sooner and revisit them more often. Short repeated sessions beat one crowded night.
The active recall guidance from Birmingham City University recommends flashcards, practice questions, and teaching ideas aloud.
Common mistakes when creating your own guide
Do not copy every sentence, decorate before checking accuracy, or include material outside the tested scope. Avoid answer-only pages.
Another mistake is finishing the guide too late. Build it in small parts during the course. Then final review becomes repair, not rescue.
Avoid the perfect-guide trap
Your guide does not need perfect handwriting or flawless design. It needs accurate information and useful practice.
Set a time limit for formatting. Spend the saved time answering questions. The proof is recall, not page beauty.

Do not make rereading the main activity
Rereading can support review, but it should not carry the whole plan. Close the guide and retrieve information frequently.
Check answers only after an honest attempt. That small struggle is where the guide begins doing real work.
What should your finished guide include?
Check for scope, objectives, concise explanations, vocabulary, examples, questions, practice tasks, visuals, errors, and review dates.
For a broader content check, see what a good study guide includes. You can also compare several study guide examples.
Improve the guide after every study session
Add missed questions, remove repeated filler, and rewrite confusing explanations. Keep a visible “review again” section for weak topics.
Your guide should change as your knowledge changes. Think of it as a dashboard, not a finished poster.
A simple template you can copy
Start with the course, test date, covered units, and learning objectives. Add a priority mark beside each objective.
For every topic, include a brief explanation, key terms, one example, three questions, and one common mistake.
Finish each unit with a closed-book check and a review date. Keep answers below a divider or on another page.
Adapt your guide to the subject
Different subjects require different proof of learning. A useful structure for history may fail completely in mathematics.
Keep the shared foundation, then change the practice section. Let the assessment decide which skills receive the most space.
Math and science guides
Include formulas with units, worked examples, labeled diagrams, and fresh problems. Explain why each step works.
Add common setup errors and incorrect approaches. Practice choosing the method before doing the calculation.
History and language guides
For history, use timelines, causes, consequences, comparisons, and evidence. Practice connecting events rather than memorizing isolated dates.
For languages, include vocabulary, grammar patterns, example sentences, listening tasks, and short speaking or writing prompts.
Turn learning objectives into questions
Objectives often begin with verbs such as define, explain, compare, analyze, or calculate. Those verbs reveal the expected performance.
Rewrite each objective as a question. “Compare mitosis and meiosis” becomes a table, explanation, and application prompt.
Check that your guide lets you perform the verb. A definition list cannot prepare you to analyze evidence.

Use past feedback to personalize the guide
Review marked assignments, quiz results, and teacher comments. List repeated weaknesses near the relevant topic.
Turn each comment into an action. “Needs evidence” becomes a prompt asking for a claim and two supporting details.
This makes feedback useful beyond one assignment. The guide becomes a record of how your work must improve.
Use past questions without memorizing answers
Group past questions by topic and skill. Notice repeated formats, command words, and common combinations.
Do not assume the exact question will return. Change values, examples, or wording to create fresh practice.
Record which guide section helped each answer. If none helped, add the missing rule or example.
Can you create a guide with classmates?
Yes, but assign clear sections and source rules. Everyone should use the same syllabus and trusted materials.
Review each contribution together. Different writing styles can hide contradictions, missing details, or repeated content.
Keep a final editor responsible for consistency. Shared work saves time only when quality checks stay strong.
When should a teacher review your guide?
Ask focused questions instead of requesting a complete inspection. Show one unclear definition, method, or scope decision.
Confirm whether your guide matches the assessment depth. Teachers can identify over-studied details and missing core ideas.
Apply the correction across similar sections. One useful answer should improve more than one line.
Make the guide easier to access
Use readable fonts, strong contrast, meaningful headings, and enough spacing. Avoid color as the only information signal.
Add text labels to diagrams and descriptions to digital images. Keep tables simple enough for small screens.
If reading is tiring, use shorter sections and audio review. Accessibility supports focus and reduces unnecessary effort.
Prepare a printable version
Leave space for answers, corrections, and notes. Keep question sets away from answer keys.
Check page breaks before printing. A diagram split across pages becomes difficult to use.
Print only the sections needed for the current session. A small packet feels clearer than an entire course binder.
Keep simple version control
Add a date or version label to the guide. Keep one master copy instead of several confusing duplicates.
Mark verified changes and teacher corrections. Delete outdated versions after moving useful notes into the master.
Version control matters most when formulas, dates, requirements, or course coverage change during the term.
Measure whether your guide improves results
Track closed-book scores, response speed, repeated errors, and confidence before checking answers. Use simple notes, not complicated dashboards.
Compare results across two or three sessions. Improvement should appear in performance, not only comfort.
If scores remain flat, change the questions or practice method. More rereading may only repeat the same problem.

What if you need a guide quickly?
Prioritize the official objectives, highest-value topics, weak areas, and common question types. Skip decorative formatting.
Create short question-and-answer sections. Add one worked example for each major method.
Test immediately and repair mistakes. A focused emergency guide should support action, not pretend to cover everything.
Practical questions about personal study guides
How long should your guide be?
Use the shortest length that covers the required objectives and supports practice. Page count depends on course scope.
A weekly quiz may need several focused pages. A final exam may need separate unit guides and one mixed-review sheet.
When should you start creating it?
Start after the first complete unit. Add verified sections during the course instead of waiting for exam week.
Early creation spreads the work and gives you more time to test the guide. Corrections become smaller and easier.
Should you handwrite the guide?
Handwriting can support processing and quick diagrams. Digital tools make searching, editing, and organizing easier.
Choose the method you will actually use for recall. A hybrid guide can combine a digital master with handwritten practice.
How much color should you use?
Give each color one clear purpose. You might mark definitions, examples, errors, and high-priority review differently.
Do not color every line. Too many signals compete for attention and make important information harder to find.
Should you share your guide?
Share only material you have permission to distribute. Remove private notes, personal feedback, and restricted assessment content.
Tell classmates which sections remain unverified. A shared mistake can travel quickly when a clean design makes it look official.
Can you reuse the guide later?
Reuse verified explanations, foundational questions, and error patterns when a later course builds on the same ideas.
Check current requirements before relying on old material. Update dates, standards, formulas, and course-specific methods when needed.

Create a review-only copy
Duplicate the verified master and remove long source notes. Keep questions, examples, errors, and priority reminders.
This smaller copy supports quick daily sessions. Return to the master when an explanation or source check becomes necessary.
Do not delete the answer key. Store it separately so practice remains honest and corrections stay available.
Archive the guide after the course
Save the final guide, source list, and most useful error patterns. Remove private feedback before sharing or long-term storage.
Add a note explaining the course, teacher methods, and verification date. Future readers need context for old material.
Reuse foundations carefully. New courses may change terminology, scope, or accepted methods even when the subject looks similar.
The bottom line
Create your own study guide by defining the goal, mapping the scope, explaining ideas, and building recall practice. Verify everything against trusted sources.
Start with one unit today. A small useful guide beats a huge unfinished plan. For the foundation, revisit what a study guide is and how to choose the best study guide.
Keep the process simple enough to repeat. Regular small improvements will build a stronger guide than one rushed redesign.